Happy Thursday!
Quick Reminder: Bliss link-up is next Wednesday, August 27th where I share my favorite items from my 28 day Health Starts Here Challenge!
This morning, I honestly thought it was Wednesday a handful of times! It’s always nice to realize that you’re closer to Friday than you expected. I cannot rave enough about this 28 day challenge with Whole Foods and the benefits I’m reaping from the experience! I continue to have good days at work. They may not be the most exciting, something bad may happen throughout the day, but I’m focused & sharp, I fix problems when they occur and I’ve been loving work this past month! What an awesome feeling!
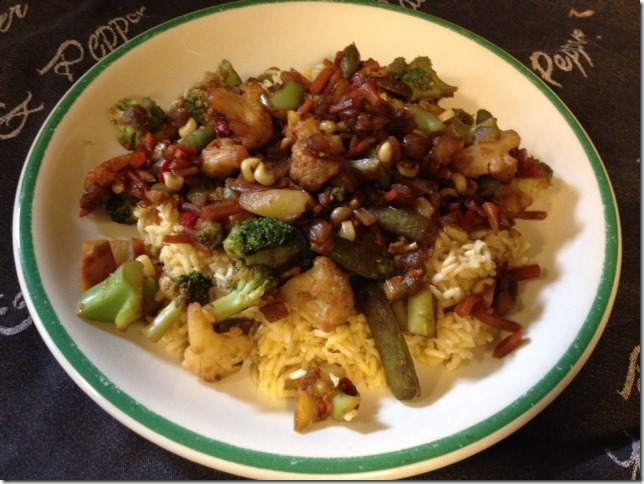
Tonight, I started DINNER right when I got home! I was pretty hungry and didn’t take enough to eat today. I’d had chili 3 days in a row and I have one more serving left over so I’m saving that for lunch or dinner tomorrow. I decided to make a cheaper version of “vegetable hibachi”. I started my rice and cooked it in vegetable broth. I’m not going to do a full recipe post on this because I’d like to make a few tweaks first, but I should have made the rice with water or vegetable stock. I then sautéed some frozen veggies without any oil. I let the pan heat up , then tossed the veggies in. The water from the veggies helped them cook at first, but when they started sticking to the pan, I tossed in some soy sauce and then de-glazed with vegetable broth. The final product turned out pretty darn good, but I’ll be making some adjustments next time and I’ll get y’all a legit recipe!
SUSHI MAKING CLASS AT WHOLE FOODS
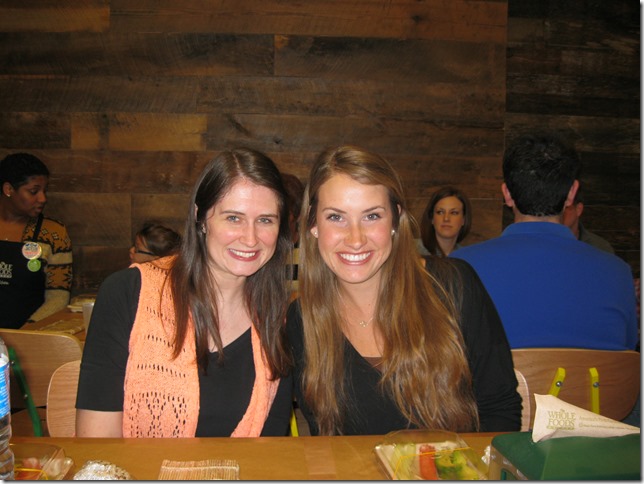
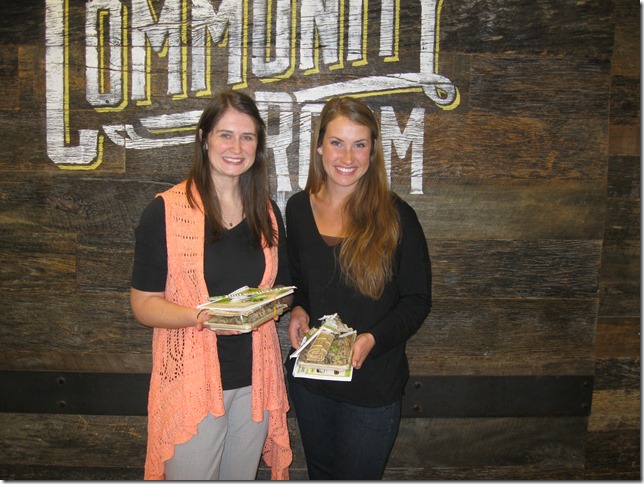
This post is long overdue! Back in February or March (see, it’s been so long!), Collette and I attended a Sushi Making Class at our local Whole Foods Market in Jackson, MS. The class was free to attend and they had all the materials ready for us. We were extremely impressed with their organization, their efficiency, and the way they handled our over-stuffed class room.
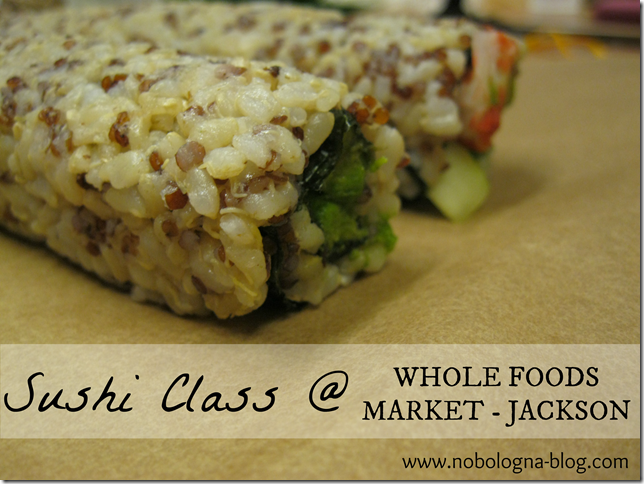
This post is going to be photo-heavy, but I want to touch on the health benefits of sushi real fast. We used whole grain rice and red quinoa for our rice mixture which made the sushi a lot healthier plus the rice contains a good amount of fiber. Sushi can be so versatile and you can incorporate whatever ingredients you want. One of the rolls we made was vegetarian and had avocado and cucumber. The other roll had avocado and imitation crab meat. We used Nori, a type of seaweed, and from what I understand it is packed with nutrients! It can improve heart health and it has some essential vitamins & nutrients. You do have to watch out for certain types of sushi though. The crunchy rolls and the fried rolls lose a lot of their health benefits when made that way! If you truly want sushi to be a healthy option for your lunch or dinner, then opt for the brown rice & quinoa, pick a veggie-packed option, and skip out on frying!
Like I mentioned, I went with Collette, Nick’s sister. It was such a blessing having her in town January – August! We had the opportunity to get to know each better & spend quality time doing fun things like Sushi Class! I’ll miss having her around, but I’m so happy she found the perfect job in the perfect city and is living out her dreams!
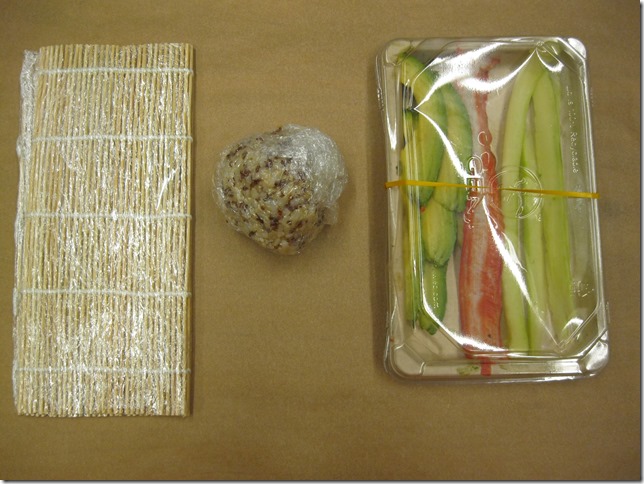
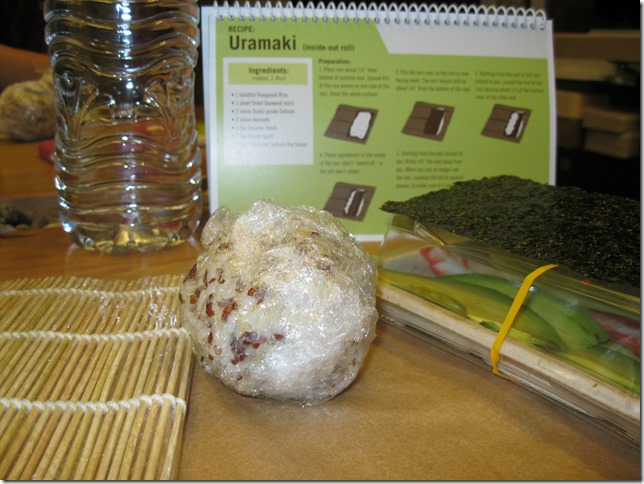
Ingredients: Sushi mat wrapped in Saran Wrap, Ball of Rice (brown rice & red quinoa shown), filling ingredients (avocado, cucumber, imitation crab meat shown), Nori seaweed (shown below)
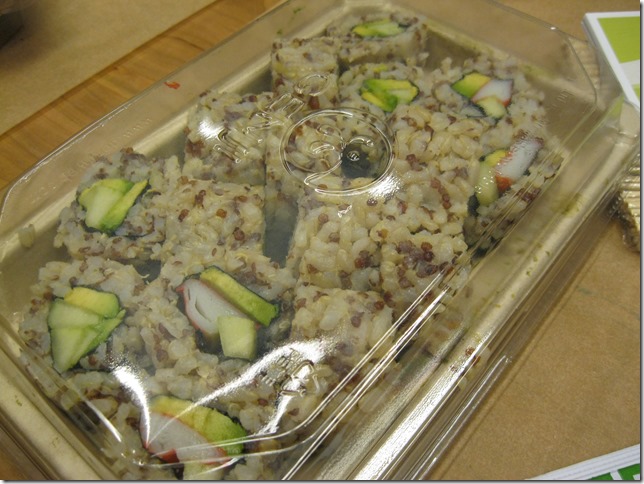
We were able to keep the Sushi mat, the sushi we made (obviously! – and remember.. this class was FREE!), and a sushi-making handbook. I have everything I need to make sushi at home now!
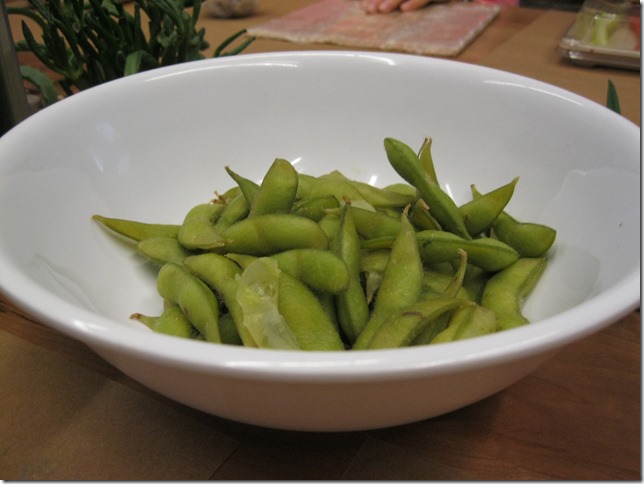
Mary Lindsey, our healthy eating specialist, also provided a small snack of edamame and water! It was a nice touch to the class and held off the hunger pains until we finished making the sushi.
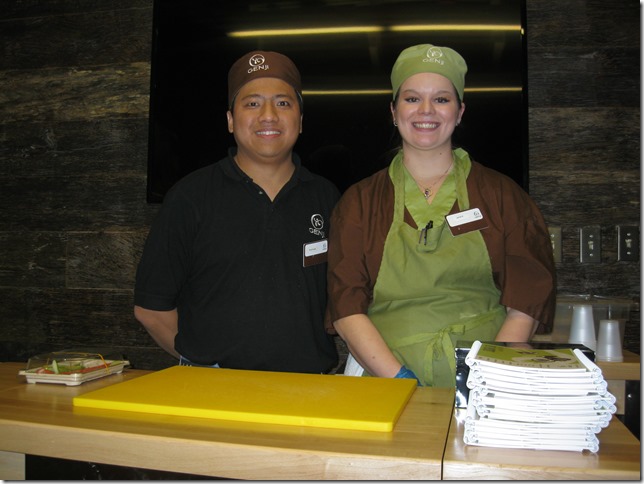
Introducing our Sushi Masters!
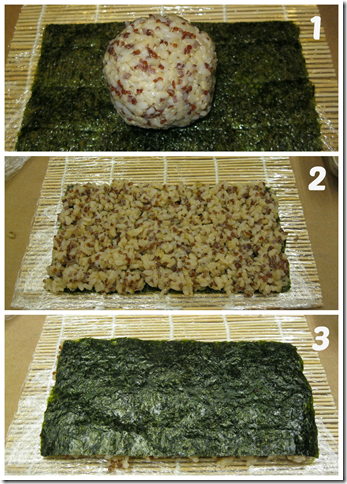
1 // Place your seaweed on the mat, and your ball of rice on top of it
2 // Gently press out your rice with your fingertips until the rice covers the entire seaweed sheet
3 // Flip your rice & seaweed over for fillers
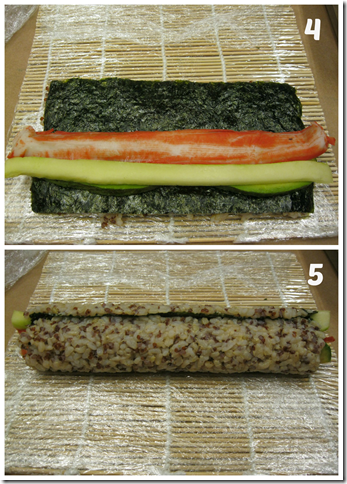
4 // Place your fillers near the edge of the sushi, but not right along the edge.
5 // Use your mat to firmly roll your sushi. [Not pictured: Apply pressure to the sushi with the mat to make sure it’s all meshed (technical term) together]
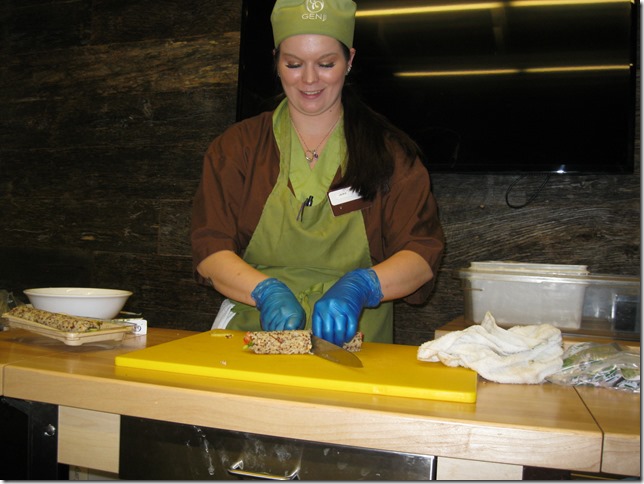
Then we had our sushi chef cut our rolls and package them perfectly to-go!
It was a super fun girls night & I’m looking forward to the next class I take at Whole Foods! Now I’m off to the gym because holy cow… I haven’t seen it very much lately! I’ll also be attempting some Macaroons that are Health Starts Here approved, so I’ll let you know how they turn out.
Questions for today:
- Have you taken a class at your local Whole Foods Market before?
- What do you like in your sushi? Do you prefer healthy or fried?
I really love the fried stuff, but I do try to choose healthy when I can! I save the crunchy rolls for a splurge night!
A sushi class??! NO WAY!! I’ve never been a “raw fish” kind of girl, but I’d still try making it 🙂 Thanks for the Bliss reminder, I need to get cracking!